
Cage Care
Selecting an appropriate cage size is extremely important for a high quality of life for your bird.
Make sure your birds have enough room to stretch their wings and climb on different levels.
Enrichment should be given daily- such as introduction to new foods and/or parrot safe toys for domestic birds.

-

Baby Bird Carrier
Hatchlings and nestlings can be kept in critter carriers or smaller cages as they do not move very much.
-

Starter Cage
Fledglings need room to explore as they grow. A cage with space for them to learn how to perch, climb and explore is key.
-
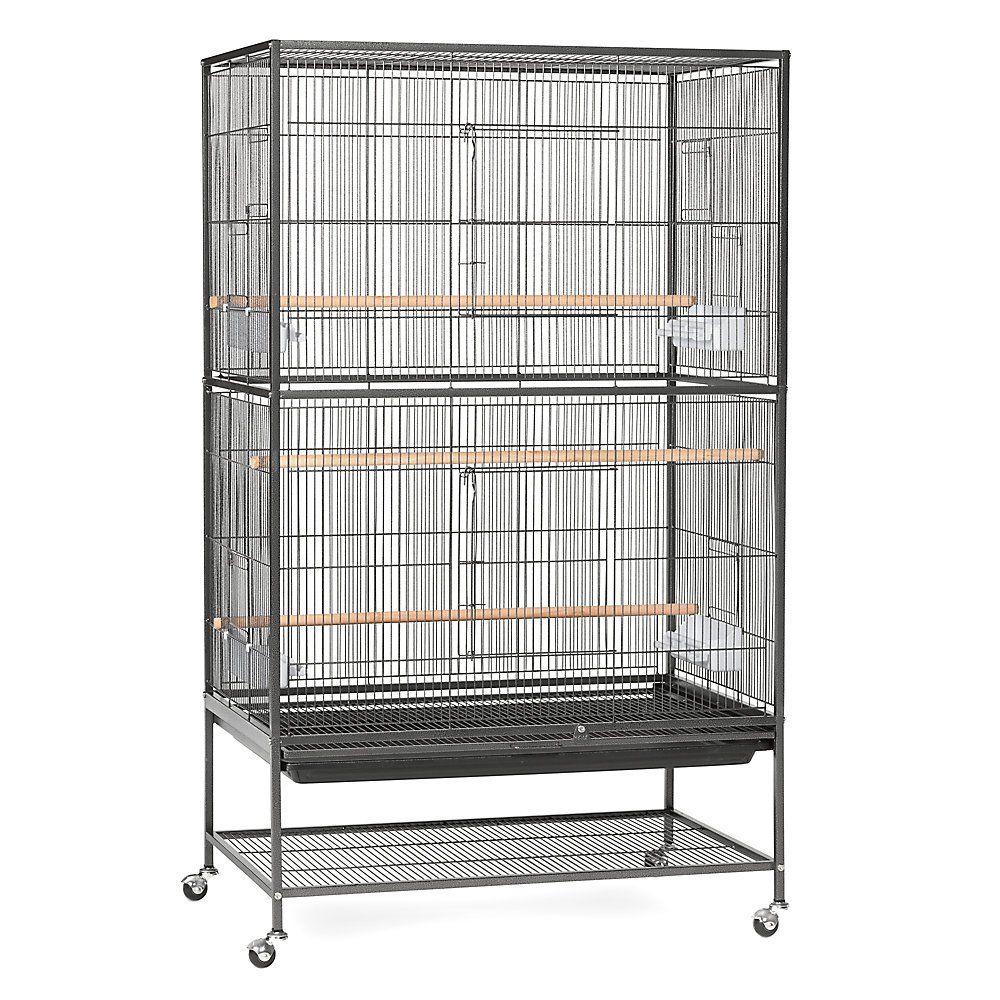
Flight cage
Older fledglings, Juvi and adult birds should be placed in a flight cage so that they can gain wing strength and learn to explore more.
Cleaning Regime
-
Change the cage liner. In addition to being uncomfortable, it is unhealthy for birds to walk around in discarded food and droppings. Unchanged cage papers can also emit a very unpleasant stench. Avoid these problems by making sure to replace the liner of your bird's cage every day.
Clean Food and Water Dishes. Remove your bird's food and water bowls daily and wash them with a mild dish detergent. This will prohibit the growth of bacteria that can potentially harm your pet. Make sure to rinse and dry them thoroughly before placing them back in your bird's cage.
Wipe Down Surfaces. Using a damp rag or paper towel, spot clean the surfaces of the cage, including the bars, perches, and any toys. To clean stubborn, stuck on messes, use a bird-safe cage cleaner.
-
Wash the Cage's Tray. Birdcages have a tray at the bottom that the cage liners are placed on. This tray should be removed at least once a week and scrubbed with a damp rag and cage cleaner. Remember to make sure that the tray is dry before putting the liners back in and replacing it.
Remove and Scrub the Grate. Some bird cages have a grate at the bottom of the cage that hangs suspended over the tray so that the droppings fall through to the bottom. This grate should be scrubbed weekly to remove any dried droppings that may have collected on it. The easiest way to clean a grate is to place it in a bathtub and use a scrub brush to remove the waste. As with all cage parts, make sure that it is completely dry before returning it to the cage.
Clean and Change the Perches. Perches can also accumulate dirt and waste and are a potential breeding ground for bacteria. They should be soaked and scrubbed once a week to remove any germs that may be hiding from them. Some perches, especially the wooden ones, take quite a while to dry after they've been cleaned, so it's a good idea to keep a few "back-up" perches on hand. Put these in your bird's cage while the ones that you've cleaned are drying.
Clean and Rotate Toys. Much like human babies, birds use their mouths to explore and play with their toys. Once a week, any toys that are in your pet's cage should be removed, soaked, and scrubbed. As with the perches, it may be helpful to have a variety of toys on hand for your bird. That way, you can rotate the toys every week when you do your cleaning, effectively making sure that your bird does not get bored with his playthings.
-
Use a Good Scrub Brush. Buy a sturdy scrub brush with durable bristles to scrub the bars and base of the cage with. Use a cage cleaner to help break down stuck on material that is hard to get off.
Make Sure to Scrub the Cracks. Bird cages, particularly at the base, often have many cracks and crevices that provide an ideal place for germs to grow. Use the bristles of the scrub brush to get down into any grooves in the bird cage, and don't forget to scrub the corners where the bars are welded together.
Rinse and Dry Thoroughly. Always remember to rinse every inch of the cage completely, to remove any remnants of cleaners or detergents. Once the cage is clean, wipe it down with a towel before placing your bird inside. Wet birds get chilled easily, so it is important to make sure that the cage is completely dry.
-
Maintaining a clean environment takes only a few minutes a day, but can possibly add years to your bird's life.
Cleaning your bird's cage may seem like a lot of work, but you will find that if you stick to this simple schedule, you can complete the job with minimal time and effort. Do your part to make sure that your pet stays happy and comfortable by keeping his cage fresh, tidy, and germ-free.
-
You can clean with Dawn Dish soap or for more extreme situations use a 10% bleach dilution mixture to kill any germs.
Make sure the cage is completely dry before putting your bird back inside.

Cleaning tip!
If you have wild birds, parrots or any birds for that matter- you don’t want to spread diseases.
Whenever you pick up a cage, purchase one used or put a sick bird inside of your own cage—- 𝘿𝙄𝙎𝙄𝙉𝙁𝙀𝘾𝙏 𝙄𝙏!
We suggest using 10% bleach dilution mixture or something as strong to kill all germs. Then leave the cage out in the sun for an extended period of time (2-4 weeks) prior to putting your bird inside.
You should be disinfecting the cage multiple times before using it again if the subject bird was previously sick. Especially if you own or foster any parrots.
Some parrot species are known to carry a highly contagious disease known as Beak and Feather. Ring-necks, Love birds and Conures—any domestic bird for that matter can be infected with it. This is a viral disease that will infect your domestic bird for its entire lifetime and often times can be fatal.
Sick birds should never be put with healthy birds or anywhere near them. Not even if they are the same species. Isolation of sick birds is critical when protecting the health of the remainder of your flock.
See sources on our footer. Specific sources on this webpage include:Sakas, Peter S. "Basic pet bird care." Essentials of Avian Medicine: A Guide for Practitioners, Second Edition. American Animal Hospital Association Press Publ. Niles, IL (2002).